The Roof Replacement Process Explained: From Inspection to Completion
Is your roof starting to show signs of wear, leaking during storms, or simply looking past its prime? Roof replacement can be a significant project, but understanding each stage helps make the process feel more manageable. Whether you’re a homeowner, property manager, or preparing a property for sale, a well-planned roof replacement provides long-term value and protection.
In this blog, we’ll walk through each step of the roof replacement process—from the first inspection to the final clean-up—so you know exactly what to expect when booking a roof replacement in the Northern Rivers.
Initial Inspection & Consultation
The first step in any roof replacement is a comprehensive inspection. This involves assessing the condition of the existing roof, identifying any structural concerns, and discussing the property’s requirements.
An on-site inspection typically checks for:
- Visible damage like rust, corrosion, loose sheets, or sagging.
- Internal signs such as ceiling stains or moisture build-up.
- Roof pitch, access, and structural suitability for new materials.
Once the inspection is complete, a detailed consultation follows. This stage allows property owners to discuss their needs, budget, and aesthetic preferences before receiving a written quote outlining the full scope of works.
Quoting & Scope of Works
After the inspection, a transparent, itemised quote is prepared. This will generally include:
- Labour and removal costs.
- Material choices and supply estimates.
- Any necessary safety equipment or scaffolding.
- Waste disposal and clean-up provisions.
- Estimated timeframes.
For full roof replacements, the quote may also detail optional upgrades like insulation, ventilation, or gutter replacement. Property owners are encouraged to ask questions at this stage to understand what is—and isn’t—included.
Choosing Roofing Materials
With the quote approved, the next step is choosing the right roofing material. In the Northern Rivers, popular options include:
- Colorbond® steel roofing – Durable, fire-resistant, and suited to a variety of styles.
- Zincalume® steel – Known for its strength and corrosion resistance.
- Corrugated metal profiles – Ideal for traditional or heritage-style homes.
Material choice depends on factors like the property’s design, climate exposure, long-term maintenance expectations, and overall budget. The selected product is ordered, and lead times are confirmed before moving forward.
Scheduling the Project
Once materials are secured, the project is scheduled. Timing may be influenced by:
- Material availability.
- Weather forecasts (especially during storm or cyclone seasons).
- Occupant availability if temporary relocation is required.
- Site access or neighbourhood restrictions.
Reputable contractors coordinate closely with homeowners or property managers to select start dates that minimise disruption and allow for safe, timely completion.
Site Preparation & Safety Setup
Before the actual removal begins, the worksite is prepared to protect surrounding areas and support worker safety. This often includes:
- Installing scaffolding or fall-protection systems.
- Clearing access points and driveways.
- Covering gardens, driveways, or patios.
- Notifying neighbours if necessary.
The team will also confirm access to electricity and water for equipment and site cleaning, and double-check property boundaries to respect neighbouring areas.
Removing the Existing Roof
The old roof is carefully dismantled, section by section, using tools that reduce damage to the supporting structure. Materials are sorted into recyclables and waste, then removed from the property as the work progresses.
During this phase, contractors check for:
- Damaged or rotting battens.
- Signs of termite activity or water ingress.
- Structural issues requiring attention before new sheeting is installed.
This stage is noisy and can expose the home to the elements briefly, but experienced teams work quickly to reduce open-air exposure and keep the site tidy.
Roof Frame Inspection & Upgrades
With the old sheeting removed, the underlying frame is fully inspected. If any structural repairs are required—such as replacing damaged timbers or reinforcing roof trusses—they’re completed before the new material goes on.
Many property owners also use this opportunity to:
- Add insulation or sarking.
- Install whirlybirds or passive roof ventilation.
- Upgrade to more energy-efficient materials.
Integrating these improvements during replacement can help extend roof lifespan and improve internal comfort year-round.
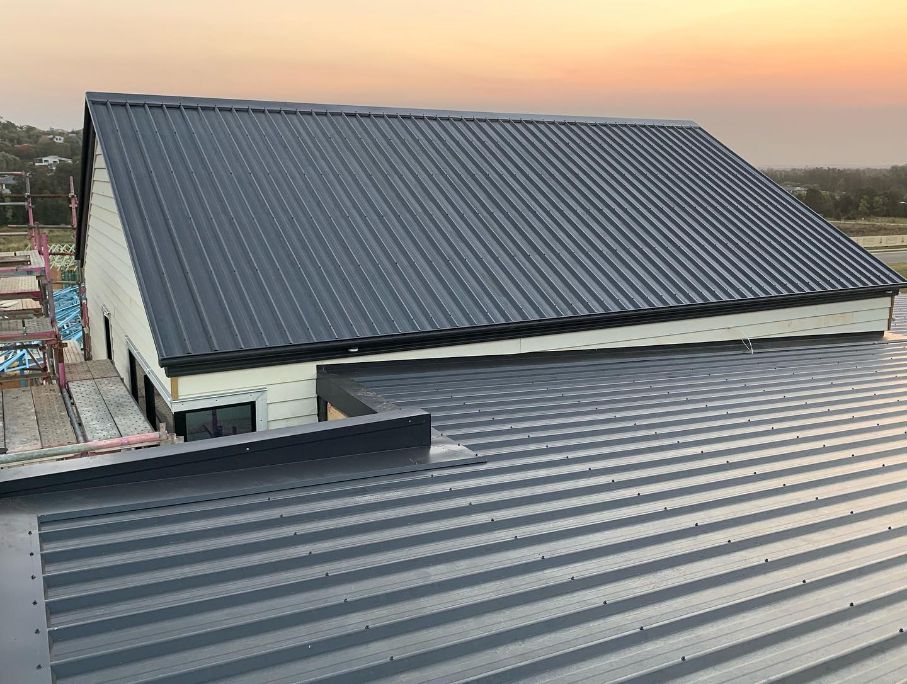
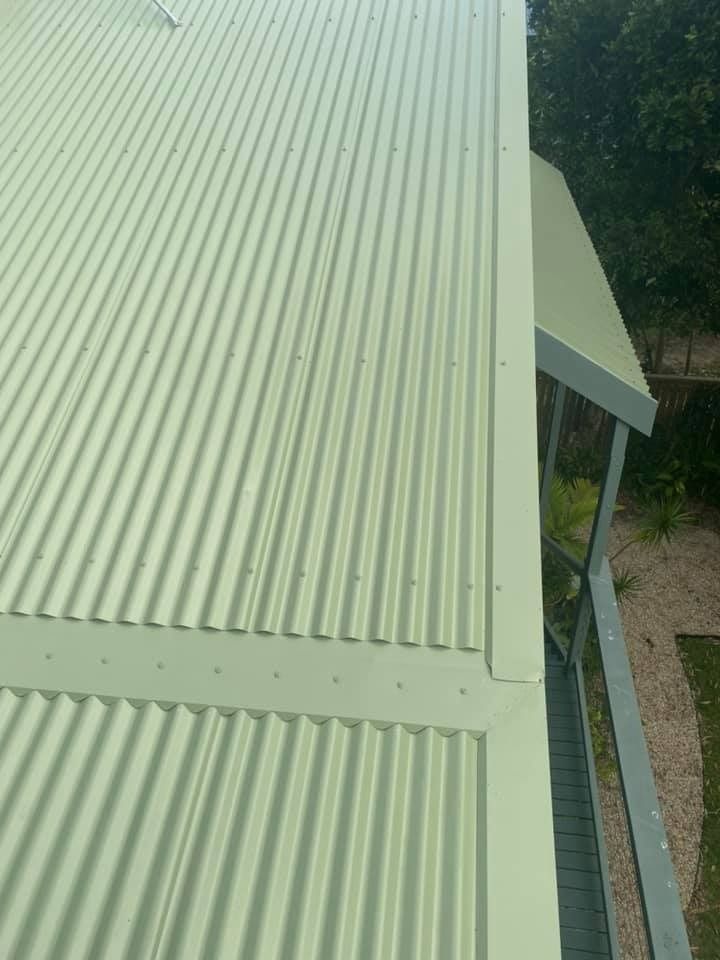
Installing the New Roof
Once the frame is prepped, the new roof is installed. Sheets are carefully measured, cut, and fixed in accordance with manufacturer guidelines and local standards. Flashings, ridges, and cappings are added to protect junctions and create a water-tight seal.
This process includes:
- Aligning and securing metal sheets.
- Fixing flashings around vents, chimneys, or skylights.
- Installing ridge caps, valleys, and downpipe outlets.
- Applying weatherproofing elements at all joints.
The installation is generally completed in sections, allowing for continuous protection during multi-day projects.
Clean-Up & Site Finalisation
After the final sheets are installed, the team conducts a thorough clean-up of the site. This includes:
- Collecting all offcuts, fasteners, and construction debris.
- Removing safety systems and equipment.
- Using magnets to retrieve stray metal nails or screws.
- Sweeping walkways, gutters, and driveways.
Property owners are often invited to inspect the work and confirm their satisfaction before the project is closed. A workmanship warranty may also be issued at this stage, depending on the provider.
Post-Installation Support
Some roofers offer follow-up support, such as:
- Completion certificates for property records or insurance.
- Maintenance advice specific to the chosen material.
- Recommendations for regular inspections, especially in coastal or bushfire-prone regions.
This level of transparency and aftercare helps property owners protect their investment and maintain the integrity of the new roof for decades to come.
Minimising Disruption During Your Roof Replacement
For homeowners and property managers alike, disruption is a key concern. Fortunately, most projects are completed within a few days, with minimal impact on daily routines.
Tips for reducing inconvenience include:
- Discussing access arrangements ahead of time.
- Temporarily relocating pets or sensitive occupants.
- Parking vehicles away from the site during work hours.
- Planning noisy or high-impact stages around school or work schedules.
Experienced roofing teams work efficiently to limit noise, dust, and mess, keeping the focus on quality and safety without extended downtime.
Book a Roof Inspection in the Northern Rivers
At Northern Rivers Metal Roofing, we handle every roof replacement in the Northern Rivers with a focus on clear communication, high workmanship standards, and minimal disruption to your home or property.
Contact us today to arrange a roof inspection and get your roofing project underway.